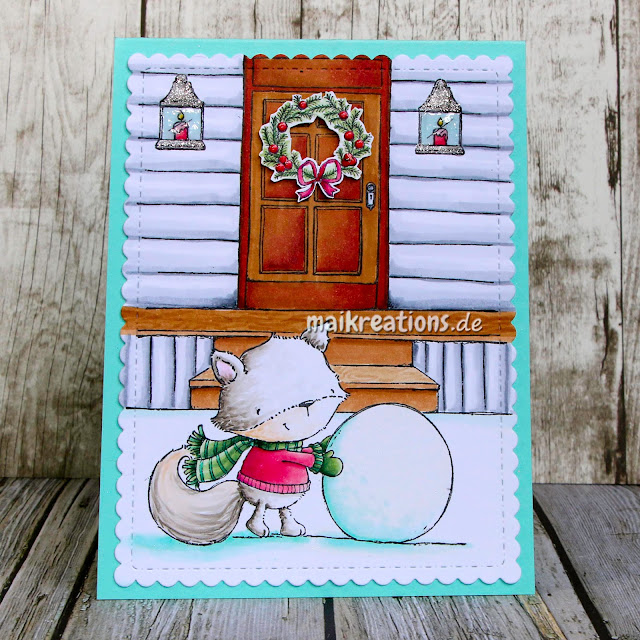
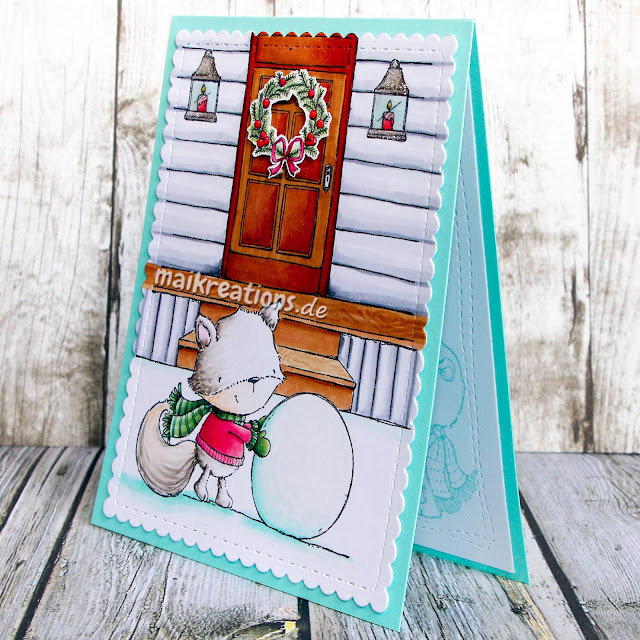
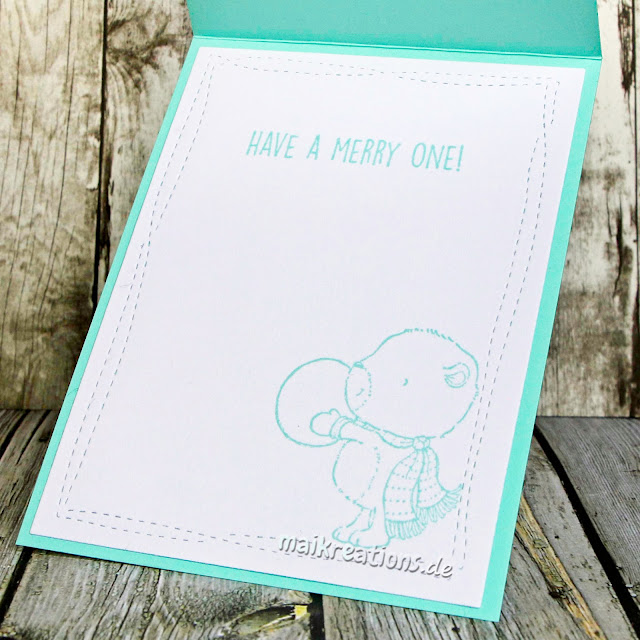
Stamps: "Rupert (Fox with snowballs)", "Wilson (Bear with snowball)", "Front Door"
& "Door Decor #1" by Purple Onion Designs
Hello everyone!
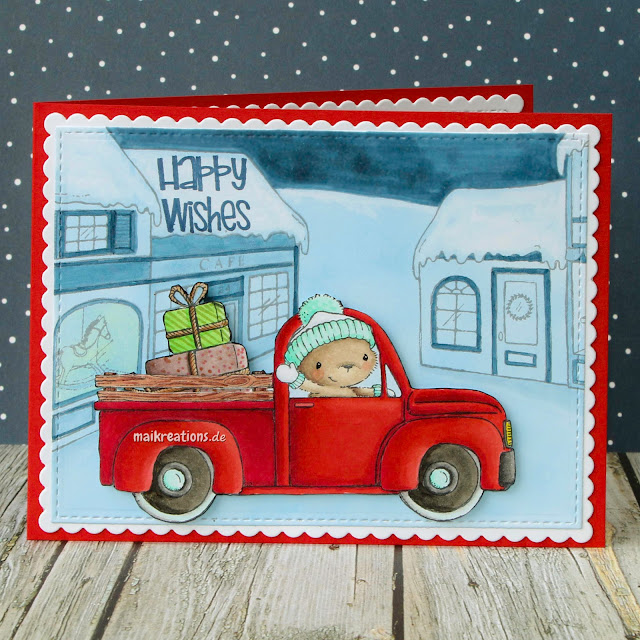
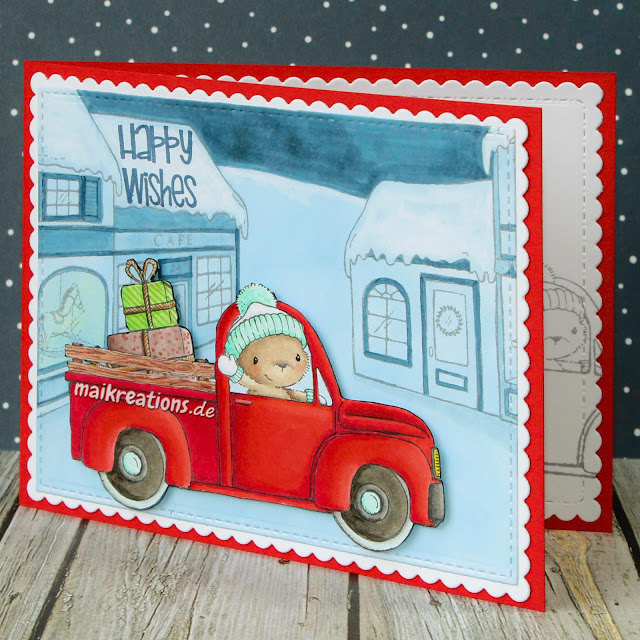
Today I would like to share a card with you that I have created as an inspiration for our newest challenge over at Papercraft Challenges. The theme is "Driving Home For Christmas". I hope you might have guessed it even without me saying so ;o) A car is rather unusual on cards of mine, but this image is just so super cute - I just love the happy bear in its truck!
Stamps: "Old Betsy", "Toy Store Background", "Bakery Background" by
Purple Onion Designs
The background was quickly prepared thanks to the wonderful "Over the Mountain Border" stamp and a mask I had created. I used Distress Inks in Tumbled Glass and Shaded Lilac to create the chilly looking sky and coloured the trees and mountain tops with Copic. Last I stamped the sentiment and also added the cute dragons to complete the card. A little shimmer was added for that little bit extra for Christmas and my card was done.
Supplies:
Stamps: "Over the Mountain Border" & "Winter Dragon" & "Little Dragon"
by Lawn Fawn
Hello everyone,
I hope you are all happy and doing well. For some reason time always flies around this time of year, so I have to admit it flew by a little and I completely forgot to post this card for Papercraft Challenges. My apologies for those of you who wanted to take a closer look!!!
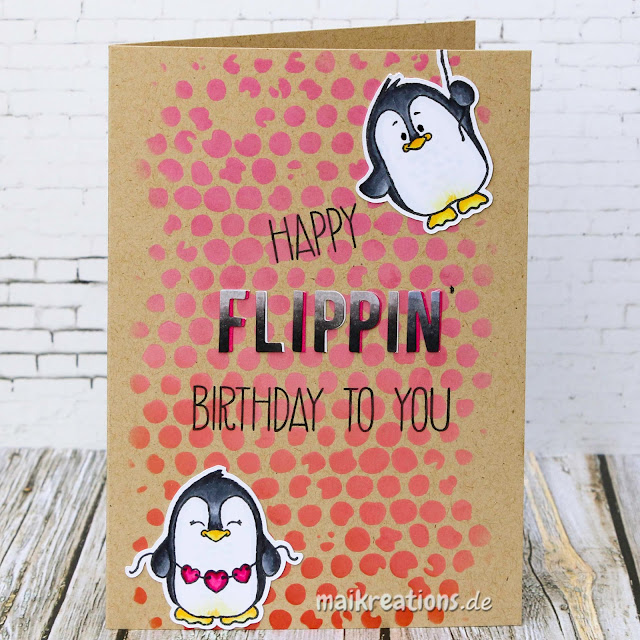
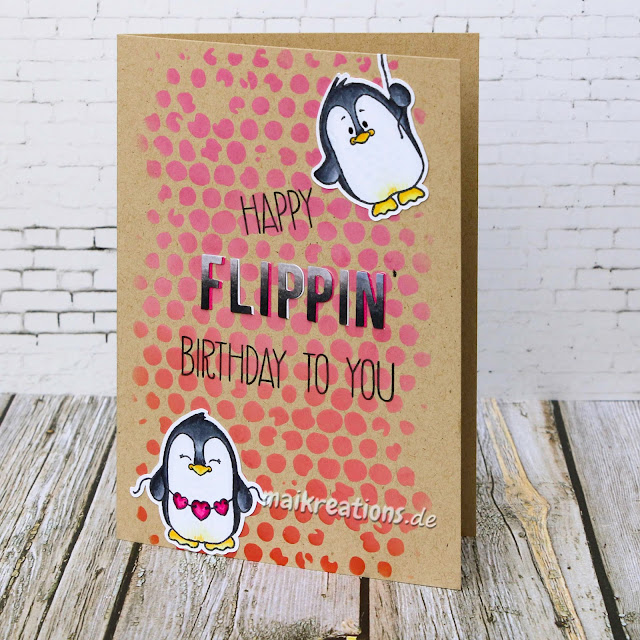
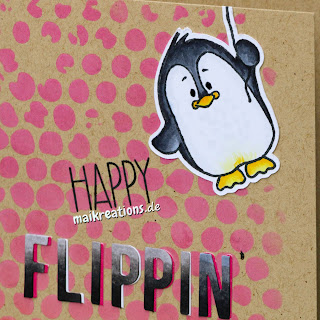
The card was made for the "Color on Kraft" challenge and I love the effect just of this stencil on the darker paper. It looks great I think:
Supplies:
tba
I have used the "Magic Iris Camera Add On" to create this card for a lovely person who loves photography and all things outdoor.
There are many videos out there explaining how to assemble this wonderful die so I won't bore you with it, but I really like the decorated fronts for this "Camera Add On" and thought I would share some tipps and tricks in this regard. The grassy hill in the opening area of the camera gave me a hard time at first. I wanted everything to line up perfectly, but didn't want to glue anything in the circular opening area, if you know what I mean. So I figured a way out in the end: I decided to die cut the grassy part and then use the camera die to die cut it again, so it would match completely - stitches and all. That left me with a tiny piece of grass. So I glued some thin white paper behind the scrap piece of grass that was large enough that it could be adhered beneath the rest of the grassy front. That way the iris could still open and close.
I hope you are going to join us with an interactice project of your own. They are always so much fun, don't you think so, too? Have a wonderful day and happy crafting everyone ;o))) Yours Maike
Supplies:
Stamps: "Happy Hedgehogs" by My Favorite Things
Dies: "Magic Iris" & "Magic Iris Camera Add On" & "Small Stitched Leaves"
by Lawn Fawn