Halli Hallo ihr Lieben!
endlich haben wir mal wieder einen Happy Insta-Girl Blog Hop für euch. Wie ihr euch sicher denken könnt, geht es dabei um Halloweenkarten. Falls ihr euch fragt, wer die Happy Insta-Girls überhaupt sind: Wir sind eine Gruppe Mädels, die sich auf Instagram "getroffen" hat und organisiert durch die liebe Birka finden regelmäßig Blog Hops statt, bei denen wir uns untereinander Karten zusenden und diese mit uns und euch bei einem Hop teilen. Solltet ihr mehr darüber erfahren wollen, wie unser
Grüppchen zusammengefunden hat, klickt einfach
hier, um zu meinem ersten, ausführlichen Post über die Happy Insta-Girls zu kommen.
Hi everyone!
FINALLY...here is another Happy Insta-Girl Blog Hop for you. As you could probably guess it is all about....Halloween. Just in case you wonder who the Happy Insta-girls are, we are a group of girls who met 'on' Instagram and thanks to Birka we organise regular blog hops, where we send each other cards and share them with you. If you want to find out more about us, just click here.
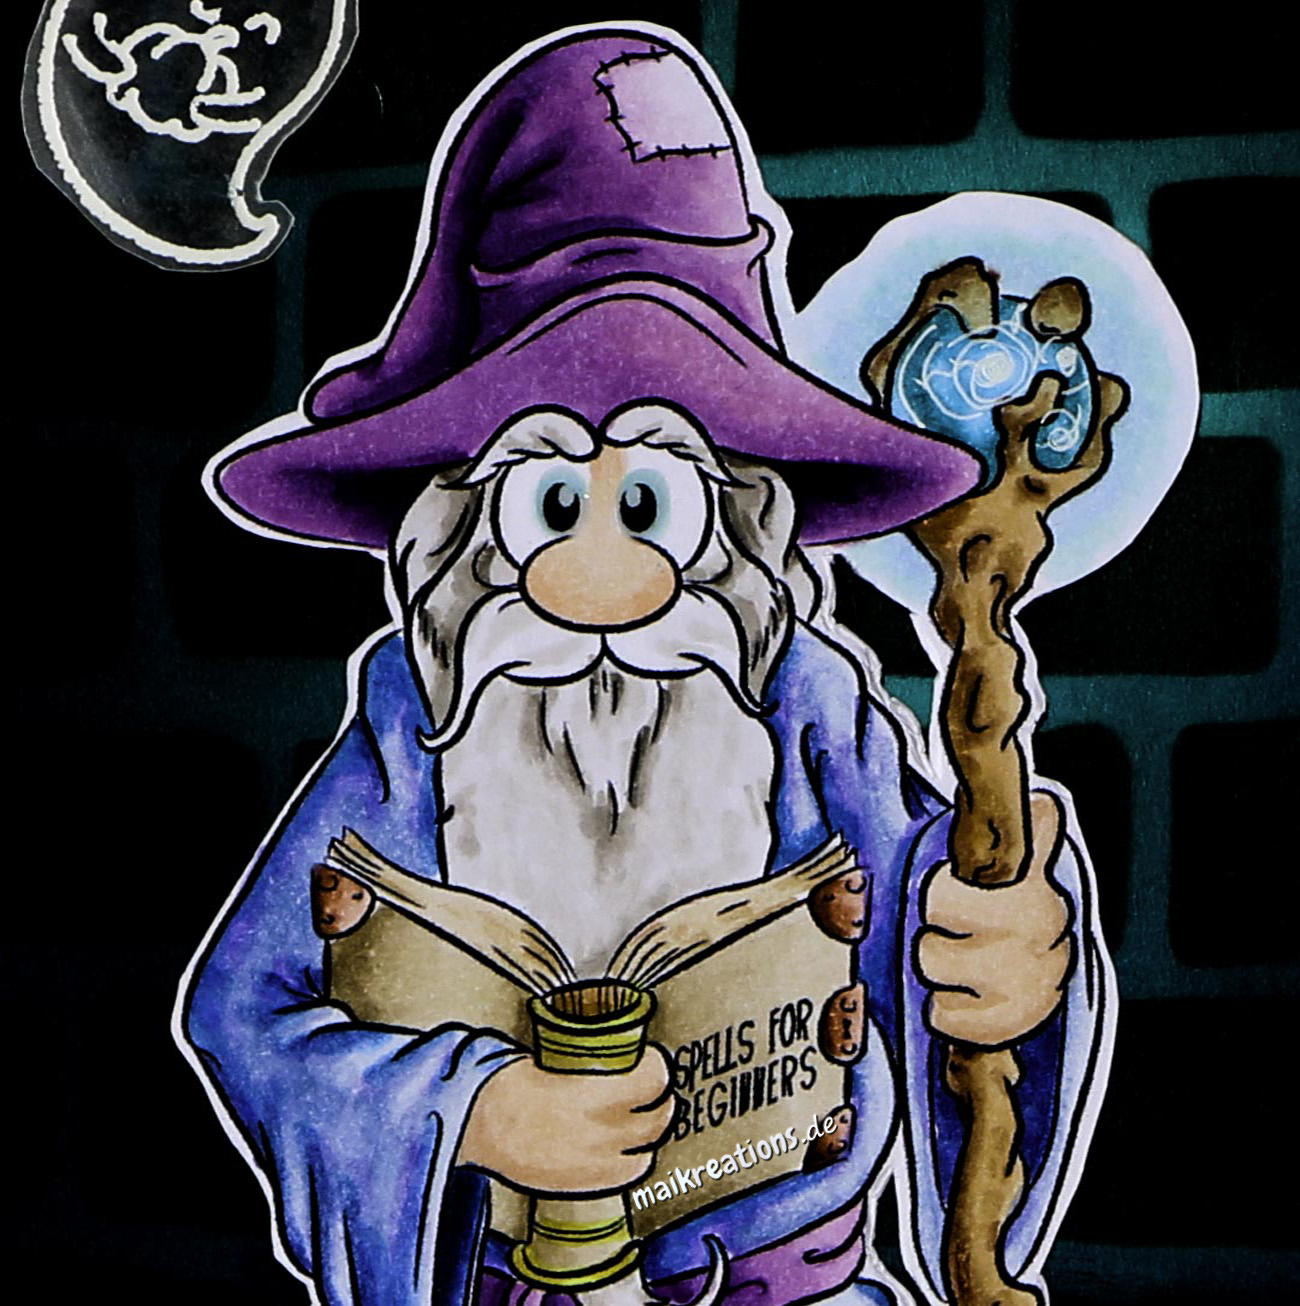
Diese
süße ... ähhh gruselige Karte habe ich von der supertalentierten
Anni von
Annikarten bekommen. Wie ihr wisst, liebe ich ja Shakerkarten, süße Monsterchen und tolle Hintergründe. Das Highlight auf dem Schriftzug und das Spiel mit Licht und Schatten auf dieser Karte haben mich echt beeindruckt, weil es einfach supercool aussieht. Aber schaut selbst:
This very supercute ....eh spooky card arrived from Anni (Annikarten). As you all know I love shaker cards, sweet little monsters and great backgrounds. Highlighting the sentiment and playing with light in shadow in a very clever way impressed me a lot. I think it looks really cool, but see for yourself:
Wenn man die Karte öffnet, findet man das Monsterchen noch einmal in seiner Originalfarbe :o) Das hat mich wirklich zum Grinsen gebracht und die Karte sogar noch "runder" gemacht. Liebe
Anni, vielen, vielen Dank für diese geniale Karte!
What a lovely suprise I found inside when I opened the card - the monster in original colours. It did make me smile and finished the card off. Dear Anni, thank you very, very much for this amazing card!
Dieses Mal durfte ich Wiebke von "Buntebastelecke" mit einer Karte überraschen. Ich weiß zufällig, dass sie interaktive, besondere Kartenformate total gerne mag und habe mich dazu entschieden ihr genau so eine Karte zu basteln. Das Design habe ich bei "Liebesfuchs" gesehen und wusste, dass ich das für
Wiebke ausprobieren wollte. Das ist dabei herausgekommen:
This time I was able to surprise Wiebke from 'Buntebastelecke' with one of my cards. Just by chance I knew that she enjoys interactive and innovative card formats and so I decided to include exactly that in my card. The design I found on 'Liebesfuchs' and I knew instantly that this is what I wanted to try for Wiebke's card. This is the result:
Oben könnt ihr sehen, wie die Karte ausschaut, wenn man sie auseinander faltet und unten seht ihr, was Wiebke gesehen hat, als sie die Karte aus dem Umschlag genommen hat. Sich auf diesem Format auszutoben hat total viel Spaß gemacht und falls ihr auch so große Freude an solchen Spielereien habt, solltet ihr es auch auf jeden Fall mal ausprobieren :o)
In the upper part of the picture above you can see what it looks like when the card is unfolded and underneath is the look of what Wiebke saw, when she pulled it out of the envelope. I really enjoyed playing with this idea and in case you would like interactive cards as well, then why don't you give it a try?
Den Hintergrund habe ich mit Distress Inks in "Wilted Violet", "Spiced Marmelade" und "Wild Honey" gewischt und anschließend noch Sprenkel in ähnlichen Farben hinzugefügt. Die silberglänzenden Punkte habe ich mit einem Gemisch aus Wasser und Perfect Pearls in der Farbe Perfect Pearls gemacht.
The background is created with distress inks in 'wilted violet', ' spiced marmalade' and 'wild honey' by distressing the edges. Afterwards I added some flicks of paint of similar colours. The silver spots were created with a mixture of water and perfect pearls in the colour 'perfect pearls'.
Für den Gruß an
Wiebke habe ich ein Quadrat mit Wellenrand ausgestanzt und den Rand mit "Wilted Violet" eingefärbt, damit es besser zum Rest der Karte passt. Auch hier musste natürlich noch mal eine kleine Spinne auftauchen... :o) Damit die Karte flach im Umschlag liegen konnte, habe ich ein Band aus Papier gestaltet, auf das ich dann auch direkt noch meinen Kartenspruch gestempelt habe :o)
To write a message for Wiebke I cut a scalloped square and coloured the edges with 'wilted violet' so that it would blend in with the rest of the card. Of course I had to add a little spider as a finishing touch. In order for the card to fit flat into the envelope, I cut a strip of paper to go around the outside and to finish it off, I added my own sentiments to it.
Ihr seid jetzt aber sicher neugierig, wem Wiebke eine Karte gebastelt hat und vor allem, wie sie aussieht, oder? Klickt einfach hier (
klick), um zu ihrem Blog zu kommen... Zur Sicherheit liste ich euch noch einmal alle Stationen des Hops auf, damit ihr definitiv keine Karte der anderen Happy Insta-Girls verpasst:
I am sure you are interested, who Wiebke sent her card to and even more what her card looks like? Click here to get to her blog. To make sure you don't miss any of the other posts related to our hop I have listed all the other Insta-Girls below:
Maike (du bist gerade hier)
Ein großes Dankeschön an dieser Stelle auch noch einmal an Birka, die wie immer die Organisation übernommen und sich um alles gekümmert hat! Viel Spaß euch allen beim Weiterhüpfen und happy crafting, eure Maike
A huge thank you to Birka for organising this Blog-Hop again! Enjoy hopping to the other pages and happy crafting, yours Maike.